How to Tesla charger installation
How to Tesla charger installation
You might be familiar with our Gen 2 install video, but now we have a new and improved video, starring the newer Gen 3 Home Tesla charger installation. This guide is to better prepare you and familiarize yourself with the process, not to give you step-by-step instructions, as I’m not an electrician. I hired an electrician in the Chattanooga area, Michael Bankston (of Michael Bankston Electric), and these are my observations of his work. The video above documents the entire process in even more detail.
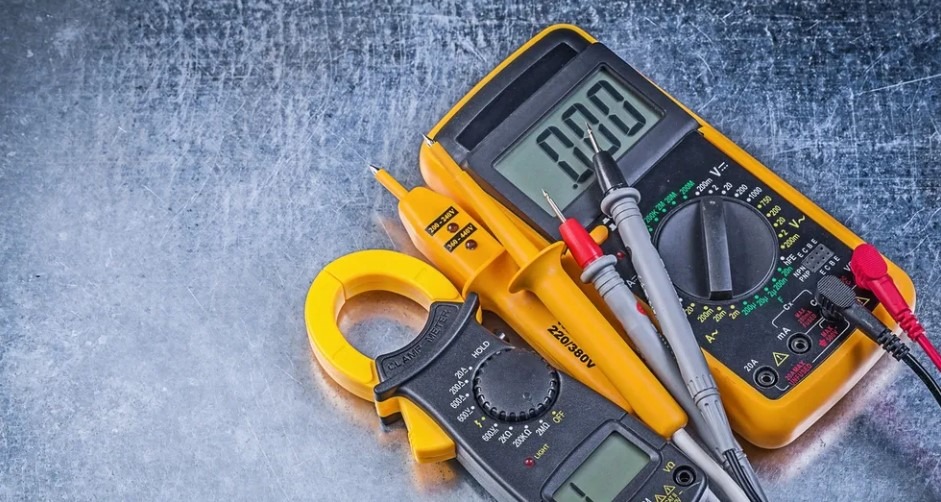
I made sure to familiarize myself with the Tesla High Powered Wall Connector and manual before Michael came out. You can find the manual here. One thing to note is to find out how much amps you need for your Tesla. For my Models 3 & Y, I need a 60 amp breaker to get a maximum output of 48 amps. The only time you need to install it at a higher amperage is if you have more than one Tesla charger and you are planning on linking the chargers together.
The other thing is to make sure your house can handle it. My house is on 200 amps, so as long as I didn’t have everything on at the same time, it was going to be fine. You should also make sure you have enough space in your breaker box.
Speaking of your breaker box, notice where it’s located and make a plan to run the cord from there to the place you want to install your charger. Remember, the harder it is to run wire to your charger, the more expensive your electrician bill will be. That’s where most of the expense comes from.
Installing electrical panels and wiring requires extreme care and skill, as working with electricity can lead to deadly consequences for inexperienced individuals. The cost of installing electrical wiring or panels depends on the scope of the project as well as whether any problems are encountered while doing the work.
If you’re updating an older home or putting on an addition, a new electrical panel and wiring may be needed to bring the house up to code.
To install the electrical panel, you must first knock out the knockouts to install the feeder pipe. Install the connector into the panel and install a lock-nut to hold it in place. If you’re using metal pipe, place a plastic bushing over the connector threads.
Using a fish tape, pull the electrical feeder wires through the feeder pipe. Leave enough wire to get to the opposite side of the panel. That way, there will be plenty of wire to make the connection anywhere in the electric panel.
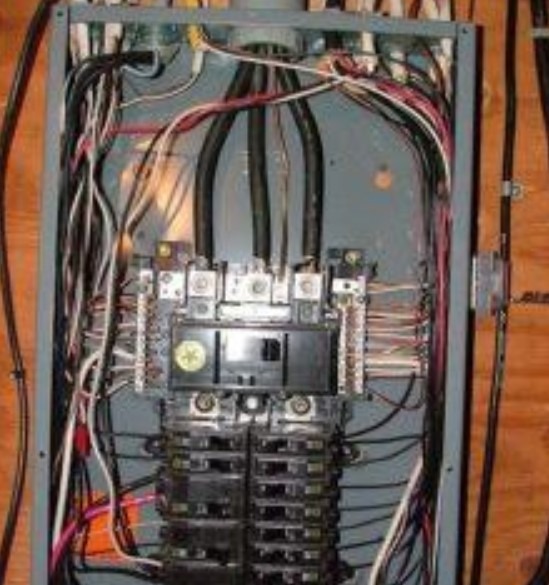
Bend the two black wires to shape them for easy electrical panel installation to the main breaker. In this photo, the main breaker is located at the top right of the panel. Strip the wire only enough to make the connection to the main breaker terminal lugs.
Connect the neutral wire to the neutral buss. The neutral buss is located on either side of the breakers. It is a silver-colored bar with many smaller screws and connection points. It also has a larger hole for the feeder neutral wire. The neutral wire is the wire marked with the white phasing tape.
To install branch circuit wires, use a fish tape to pull in the wires. If you are installing NM wiring, install NM connectors to the electrical panel and secure the wires with the two screws on the straps. Strip the outer sheathing to expose the conductors.
Connect all of the green and bare copper wires to the ground buss bar. Connect the white neutral wires to the neutral buss. If you bend the wires ahead of time, you’ll have a nice, neat wire installation that looks uniform.
Next, install the circuit feeds to the branch circuit breakers. The black and red wires are the feeder wires in this photo with the black wires being one of the hot feeds and the red wires being the other. Connect the appropriate sized wire to the correctly rated breaker. Bend the wires so that they keep a neat appearance when the outlet repairs is complete.
Electric Panel: Safety Installation Tips
Very early homes still have old fuse style panels, these panels require the home owner to change fuses when they get overloaded and blow. This creates issues because the home owner may not have the proper fuse and may put in a fuse that is too large. Or the home owner may not have a spare fuse at all leaving the circuit off until one can be purchased.
Website: https://chicago-electrical.com/


Comments
Post a Comment